

Views: 0 Author: Site Editor Publish Time: 2025-08-06 Origin: Site


Are you ready to harness the power of the sun? Installing solar panels is a fantastic way to reduce your energy costs and contribute to a more sustainable future. But have you ever wondered how solar panels are securely attached to your roof, ground, or even a carport? The key to a successful and durable installation is the solar panel bracket.
Without the right brackets, your solar panels might not withstand the elements, resulting in decreased efficiency and even damage. This guide will take you step-by-step through the installation of solar panel brackets on various surfaces. Whether you're installing them on a sloped roof, a flat surface, or even a wall, we’ll help you ensure that your solar panels are securely fastened and positioned for maximum efficiency.
In this article, you'll learn about the different types of solar panel brackets, the tools and materials you’ll need for installation, and the proper installation techniques for various surfaces. Let's get started!

Before diving into the installation process, let's first understand what solar panel brackets are and why they are essential to a solar system's efficiency.
There are several different types of solar panel brackets that cater to various mounting surfaces and solar panel designs. Here’s a look at the most common types:
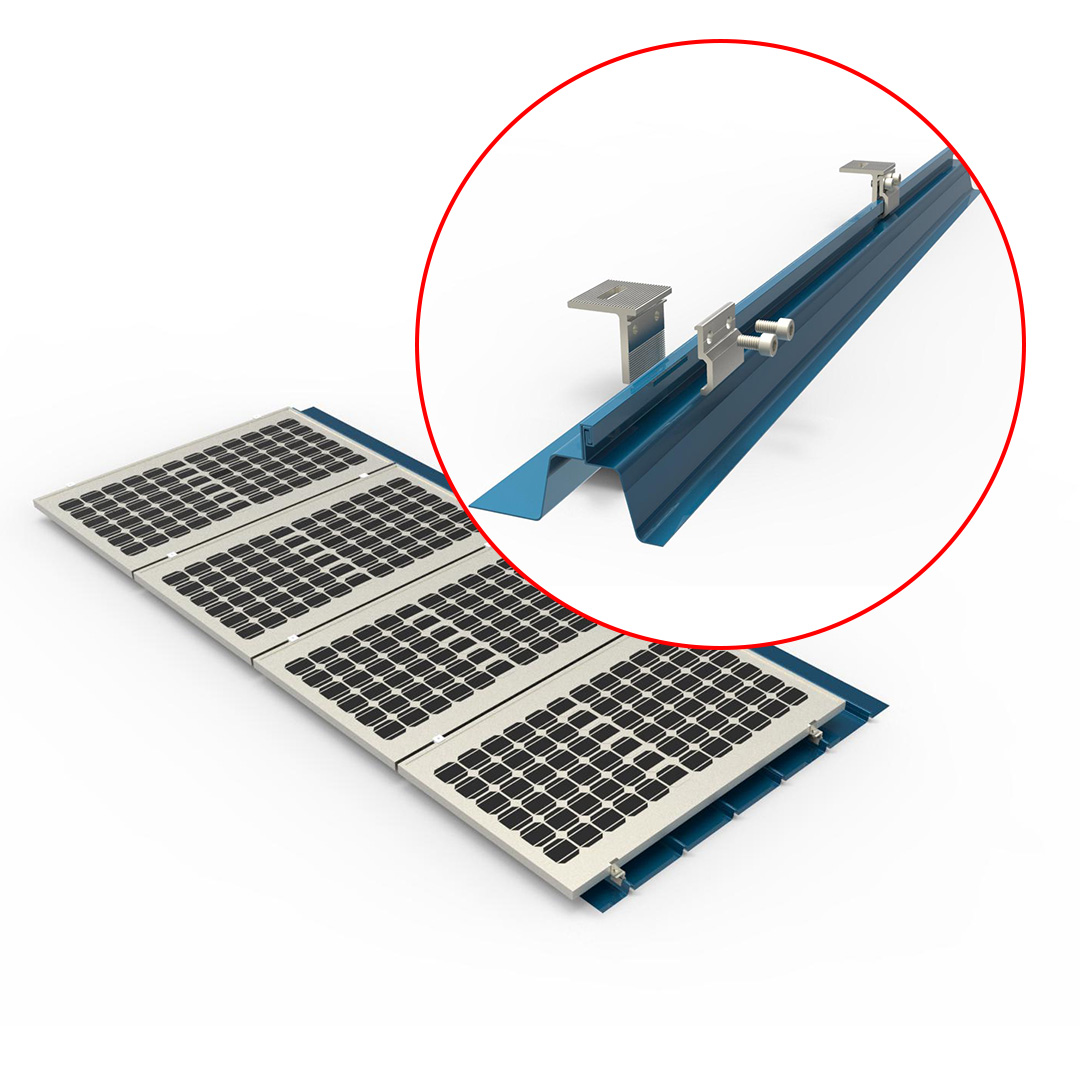
Rooftop Brackets: These brackets are designed to secure solar panels on various types of roofs. Rooftop brackets are available in different configurations, including those designed for pitched roofs, flat roofs, and metal roofs.
Ground-Mounted Brackets: For installations where rooftop space is limited, ground-mounted systems are a popular choice. These brackets are used to secure solar panels to the ground, either in ballasted or anchored configurations.
Ballasted Systems: These systems are ideal for flat roofs and ground installations that do not require drilling into the surface. They use weight, such as concrete blocks, to keep the panels in place.
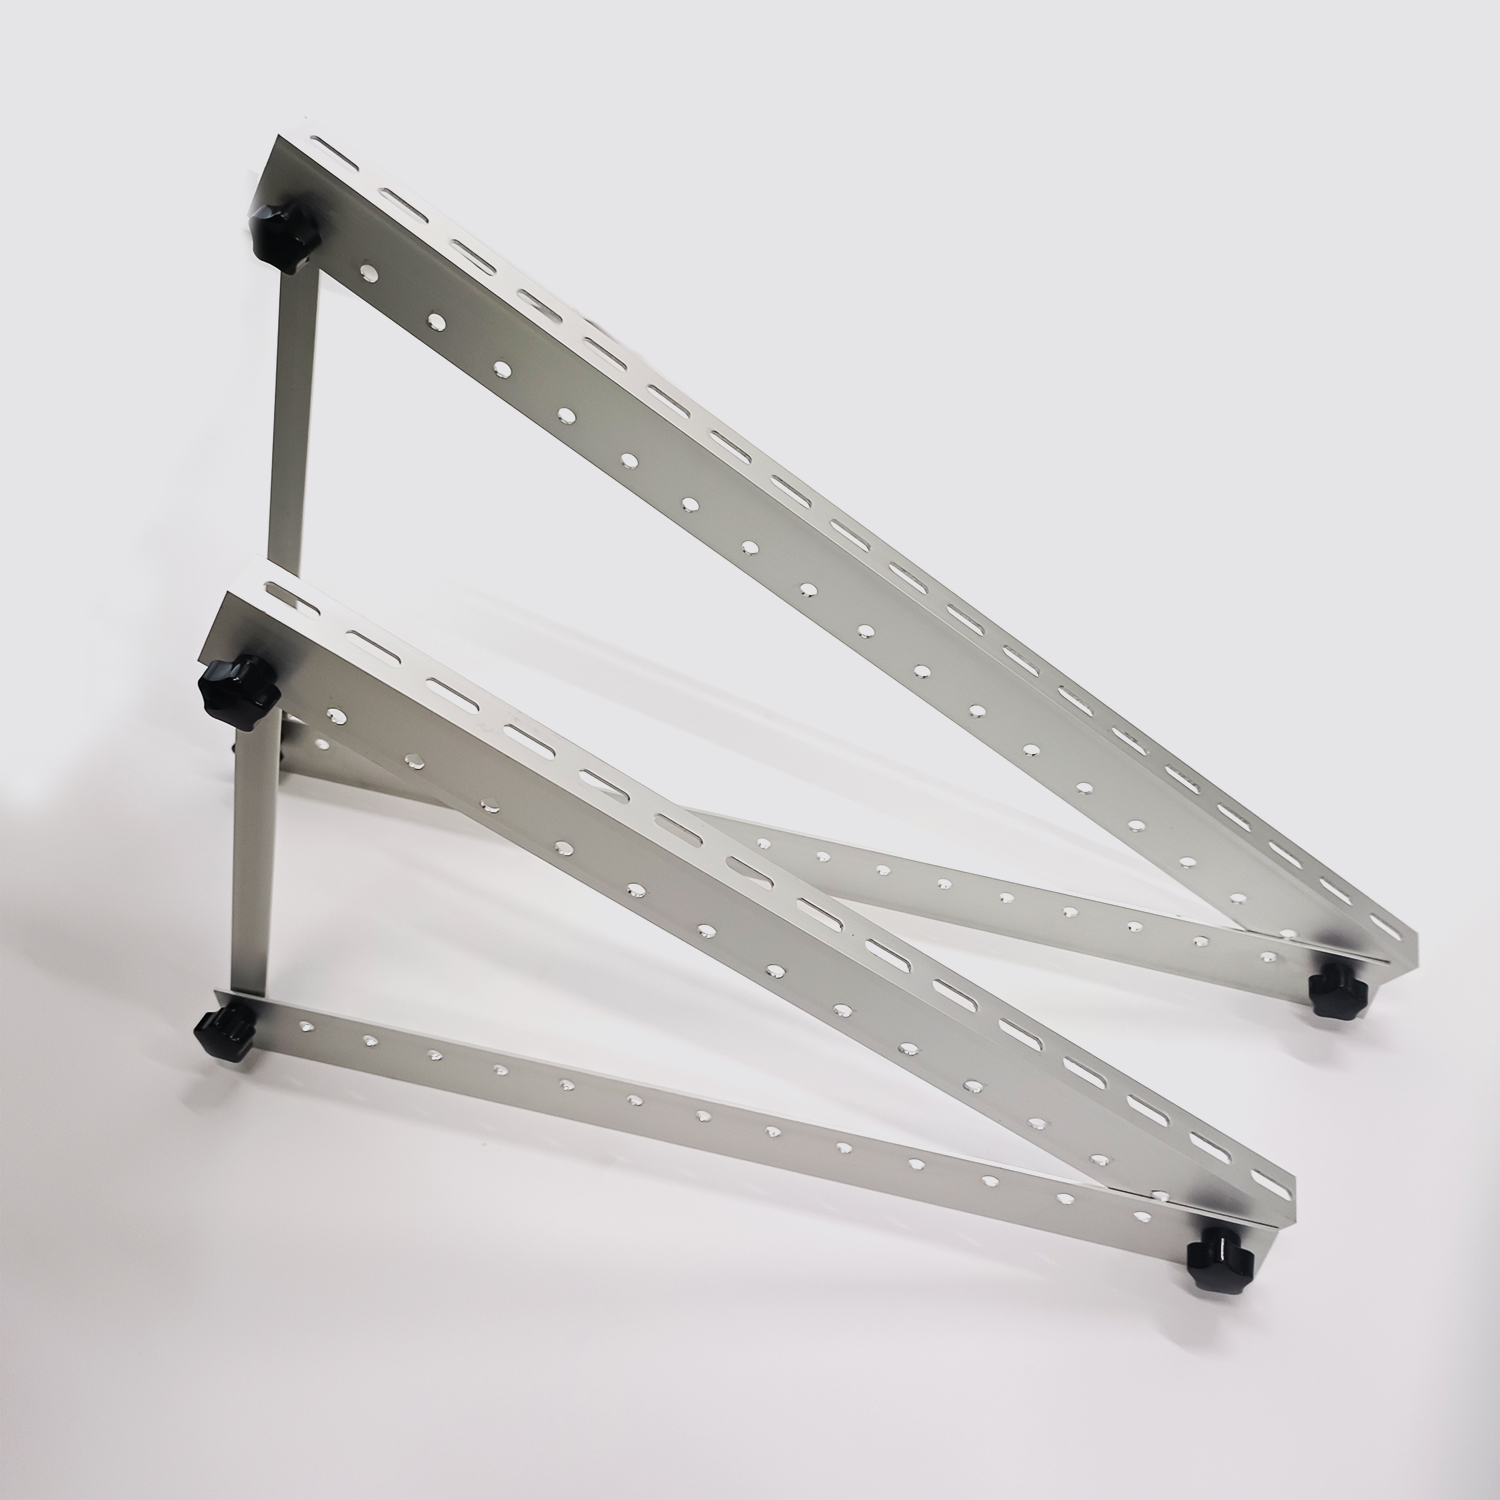
Adjustable Tilt Brackets: These brackets allow you to adjust the tilt angle of your solar panels. This flexibility helps you maximize the amount of sunlight your panels receive throughout the day.
Waterproof Carport Brackets: Carport solar brackets allow solar panels to be mounted on top of a carport, providing dual functionality—protecting your vehicle while generating solar power.
Solar panel brackets are typically made of materials that can withstand outdoor elements. The most common materials used are:
Aluminum: Lightweight, corrosion-resistant, and easy to install, aluminum is the most commonly used material for solar panel brackets.
Steel: Stronger and heavier than aluminum, steel is a good choice for installations in areas with high winds or extreme weather conditions.
Stainless Steel: Known for its exceptional durability, stainless steel is resistant to rust and can last for decades without degradation.
Proper installation of solar panel brackets ensures that your panels are positioned to receive maximum sunlight exposure. A well-installed panel system will generate more power, allowing you to save on energy bills. For example, adjustable solar panel brackets allow you to change the angle of the panels throughout the year, ensuring they are always at the optimal tilt to capture sunlight.
The solar panel brackets must be designed to withstand harsh weather conditions. If your brackets aren’t secure, high winds, heavy snow, or rainfall could cause your solar panels to become loose or misaligned. Installing durable solar panel brackets that are properly secured to your surface helps protect your investment in solar energy.
A proper solar panel bracket installation prevents long-term maintenance costs by ensuring that your panels remain secure and functional for years to come. If brackets are poorly installed, panels can become loose, which could lead to inefficiency and increased wear on your system. Proper installation can significantly extend the life of your solar panel system.
Rooftop solar panel installation is the most common method of securing solar panels. However, not all roofs are the same, and the installation process will differ depending on the roof type.
Prepare the Roof: Before installation, ensure the roof is clean and free from debris. This will help the brackets sit properly and reduce the risk of damage.
Install Roof Attachments: Roof attachments are crucial for securing the brackets to the surface. Depending on the roof type, use bolts or screws to fasten the brackets. For pitched roofs, you'll need to attach the brackets to the roof trusses.
Set the Panel Angles: Using adjustable tilt brackets, set the panels at the optimal angle. The angle will depend on your geographical location and the time of year.
Seal the Installation: Use waterproof sealant around the brackets to prevent water leaks, ensuring that your roof remains waterproof after the installation.
Roof Condition: Always check your roof’s condition before installation. If your roof is nearing the end of its lifespan, you may want to replace it before installing solar panels.
Roof Pitch: The roof’s pitch will affect the solar panel angle. For flat roofs, you may need adjustable solar panel brackets to achieve the correct angle.
Ground-mounted solar systems are an excellent choice when rooftop installation is not feasible. Whether you have a large property or want to avoid roof installation, ground-mounted solar panel brackets provide a flexible solution.
Select the Location: Choose an area that receives maximum sunlight throughout the day. Avoid areas that are shaded by trees or nearby buildings.
Install Ground Mounting System: For ballasted systems, place the ballast blocks to secure the brackets in place. For anchored systems, dig holes and secure the posts with concrete.
Attach the Brackets: Once the ground system is in place, attach the solar panel brackets to the mounting frame.
Adjust the Panels: If using tilt brackets, set the panels at the optimal angle for your location.
Soil Conditions: The type of soil (e.g., sandy, rocky) can affect the installation process. Ensure the ground is firm enough to support the weight of the panels.
Panel Orientation: For maximum efficiency, orient the panels to face south (in the northern hemisphere) or north (in the southern hemisphere).
Balcony and carport solar installations offer a unique opportunity to generate solar power while protecting vehicles. These systems are ideal for those with limited roof space or who want to combine solar power generation with vehicle protection.
Prepare the Surface: Ensure the surface can support the weight of the solar panels. For carports, check that the structure is sturdy enough to support additional weight.
Install Brackets: Use solar panel brackets designed for carports or balconies. Attach the brackets securely to the surface using appropriate fasteners.
Position the Panels: Position the solar panels on the brackets and adjust the angle for maximum sunlight exposure.
Structural Integrity: Make sure the balcony or carport is strong enough to handle the weight of the panels.
Space Limitations: Balconies and carports often have limited space, so ensure the panels are positioned efficiently.
Wall and window mounting is perfect for small-scale solar systems, such as for apartment dwellers or for powering smaller devices.
Select the Panels: Choose smaller solar panels for wall or window installations.
Install the Brackets: Secure the solar panel brackets to the wall or window frame using screws or adhesive strips.
Mount the Solar Panels: Attach the solar panels to the brackets and ensure they are secure.
Visibility: Wall and window installations are more visible, which may impact the aesthetic appearance of your home.
Energy Output: These systems are typically less efficient than rooftop or ground-mounted systems.

To properly install solar panel brackets, you will need the following tools and materials:
Drill: To create holes for attaching the brackets.
Wrenches and Screwdrivers: For fastening bolts and screws.
Angle Ruler/Protractor: To ensure the correct tilt angle for optimal energy generation.
Solar Panel Brackets: Choose the appropriate type based on your installation surface.
Mounting Hardware: This includes bolts, screws, nuts, and washers.
Waterproof Sealant: To prevent leaks, especially for rooftop installations.
Safety Gear: Gloves, goggles, and harnesses for safe installation, especially for rooftop projects.
Choosing the wrong size solar panel brackets can lead to instability or poor panel performance. Ensure that the brackets are compatible with the size and weight of your solar panels.
Check for any damage to the surface where the brackets will be installed. Cracked or weak areas could compromise the installation.
Proper angling is crucial for maximizing solar energy generation. Avoid setting the panels at the wrong angle, as this could result in reduced power output.
Surface Type: Different surfaces require different types of solar panel brackets.
Panel Size and Weight: Make sure the brackets are designed to support your solar panels.
Weather Conditions: Choose materials that can withstand local weather conditions.
Pros: Cost-effective, hands-on learning, and flexibility.
Cons: Risk of errors, time-consuming, and potential safety concerns.
Pros: Expertise, guaranteed safety, and efficiency.
Cons: Higher upfront costs, reliance on external contractors.
If your installation involves complex roof types or if you’re unsure about your DIY skills, it’s best to consult a professional installer.
In conclusion, installing solar panel brackets on different surfaces requires careful planning and the right equipment. By understanding the installation process for rooftops, ground mounts, balconies, and even walls, you can ensure that your solar panels are secure and optimized for maximum efficiency. Whether you're doing it yourself or hiring a professional, the right solar panel bracket system will help you get the most out of your solar investment.
A: Solar panel brackets typically last as long as the solar panels themselves, around 25-30 years, depending on the materials and installation.
A: While most surfaces can accommodate solar panel brackets, the type of bracket and installation method may vary based on the surface (roof, ground, etc.).
A: Basic tools like drills, wrenches, and angle rulers are required for installing solar panel brackets.
A: The ideal angle depends on your geographical location and roof pitch. Adjustable solar panel brackets can help you find the perfect angle.
A: Yes, many homeowners can install solar panel brackets themselves with the right tools, but professional installation is recommended for complex setups.